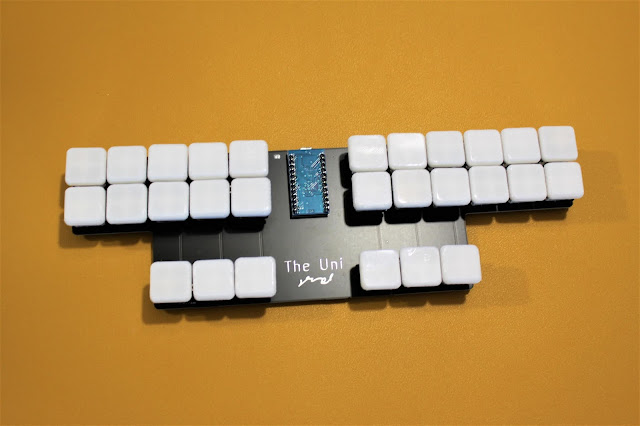
How to Build Your Own Uni
Step 1: Buy a PCB
Go to StenoKeyboard.com and buy yourself a PCB. Cool. You are done with this step.
Step 2: Buy the other parts
You need to buy these components:
-
Pro Micro (or Pro Micro compatible Elite C)
-
28 PCB Mount* Switches (Mx, Alps, or Choc)
-
28 Keycaps (You can also buy keycaps from other vendors)
- 4 Rubber Feet
-
Solder and Soldering Iron
-
USB Cable to connect your Uni to the computer
*PCB mount switches have two additional plastic legs that makes it easier for
the switches to stay on the PCB while you solder. Plate mount can work, but it
will be harder. Alps switches are plate mount.
Step 3: Solder the Pro-Micro
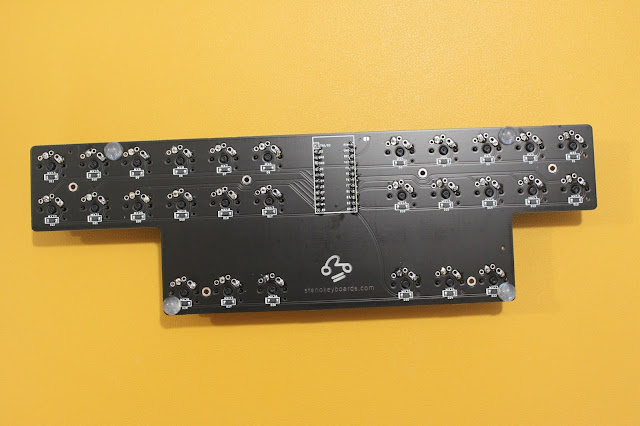
- Make sure to position the Pro-Micro on the side of the board WITHOUT diodes.
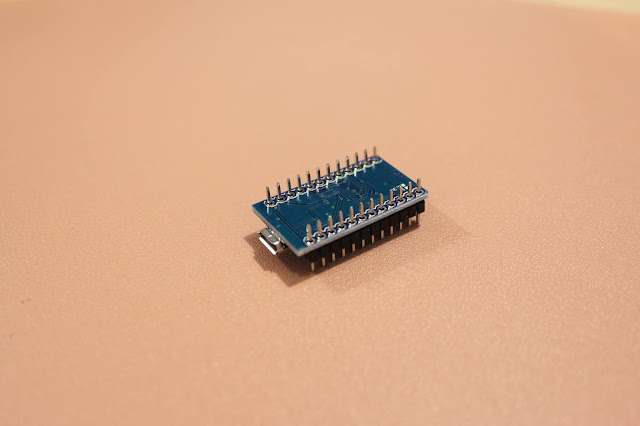
- It is also extremely important that you solder the pro micro on so that the smooth of the pro micro is facing up so that the footprints match up.
- The long pins face the pro micro while the short pins face the pcb.
- I first solder the long side of the pins to the Pro Micro, and then solder the short side of the pins onto the Uni PCB from the bottom.
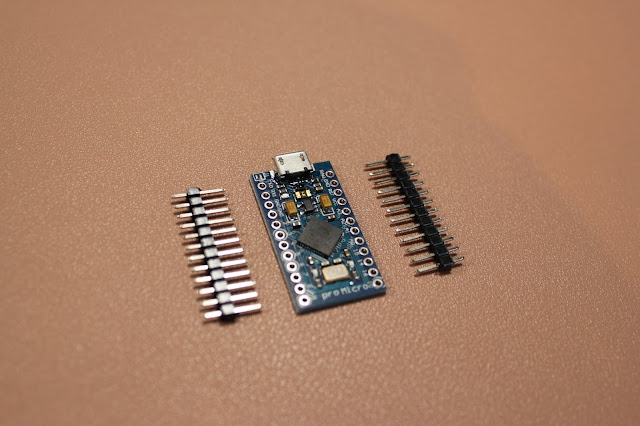 |
| Pro Micro |
 |
| How to insert the pins |
 |
| Pro Micro orientation |
Step 4: Solder the Switches
- Place the switches on the board
-
Flip the board over to solder
-
Be careful to not let the switches slip off the pcb or else you will be left
with some crooked keys.
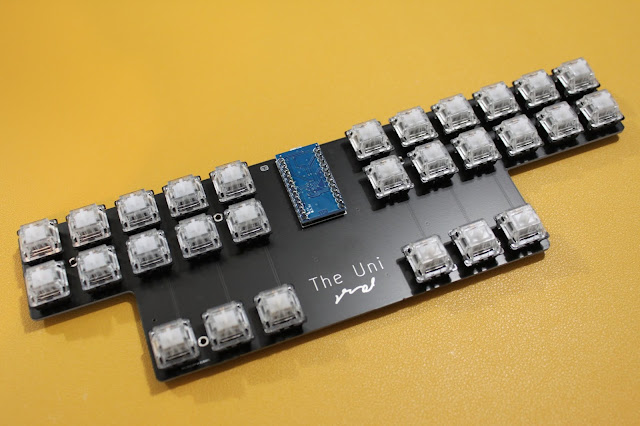 |
| These are Gateron Clears |
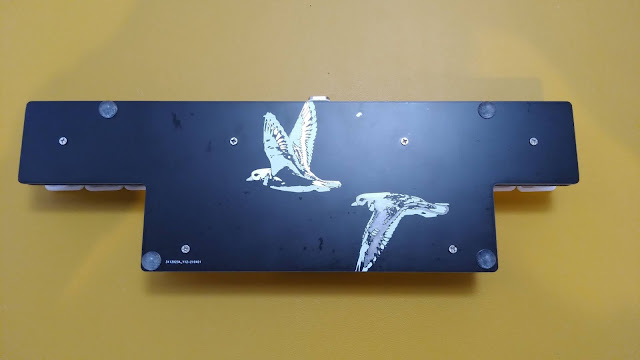
Step 5: Place the [Backplate,] Keycaps, and Rubber Feet
- If you got a backplate, screw it on with the standoffs going in the middle. Stick the rubber feet on the backplate. Make sure to be very careful when screwing in the screws because the standoff threads can get stripped if you force the screw to go in at the wrong angle.
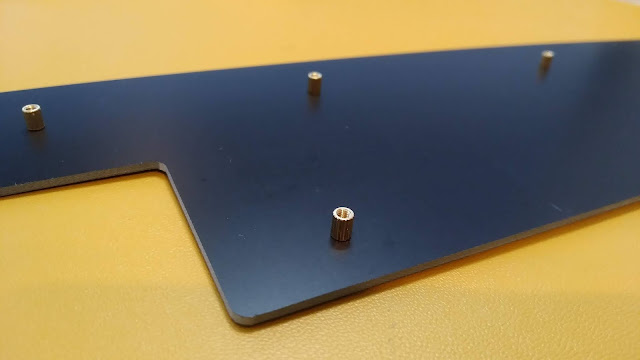 |
| Screw standoffs to the backplate first. |
 |
| Keycaps, check |
 |
Rubber feet pcb only
|
 |
| Rubber feet on backplate |
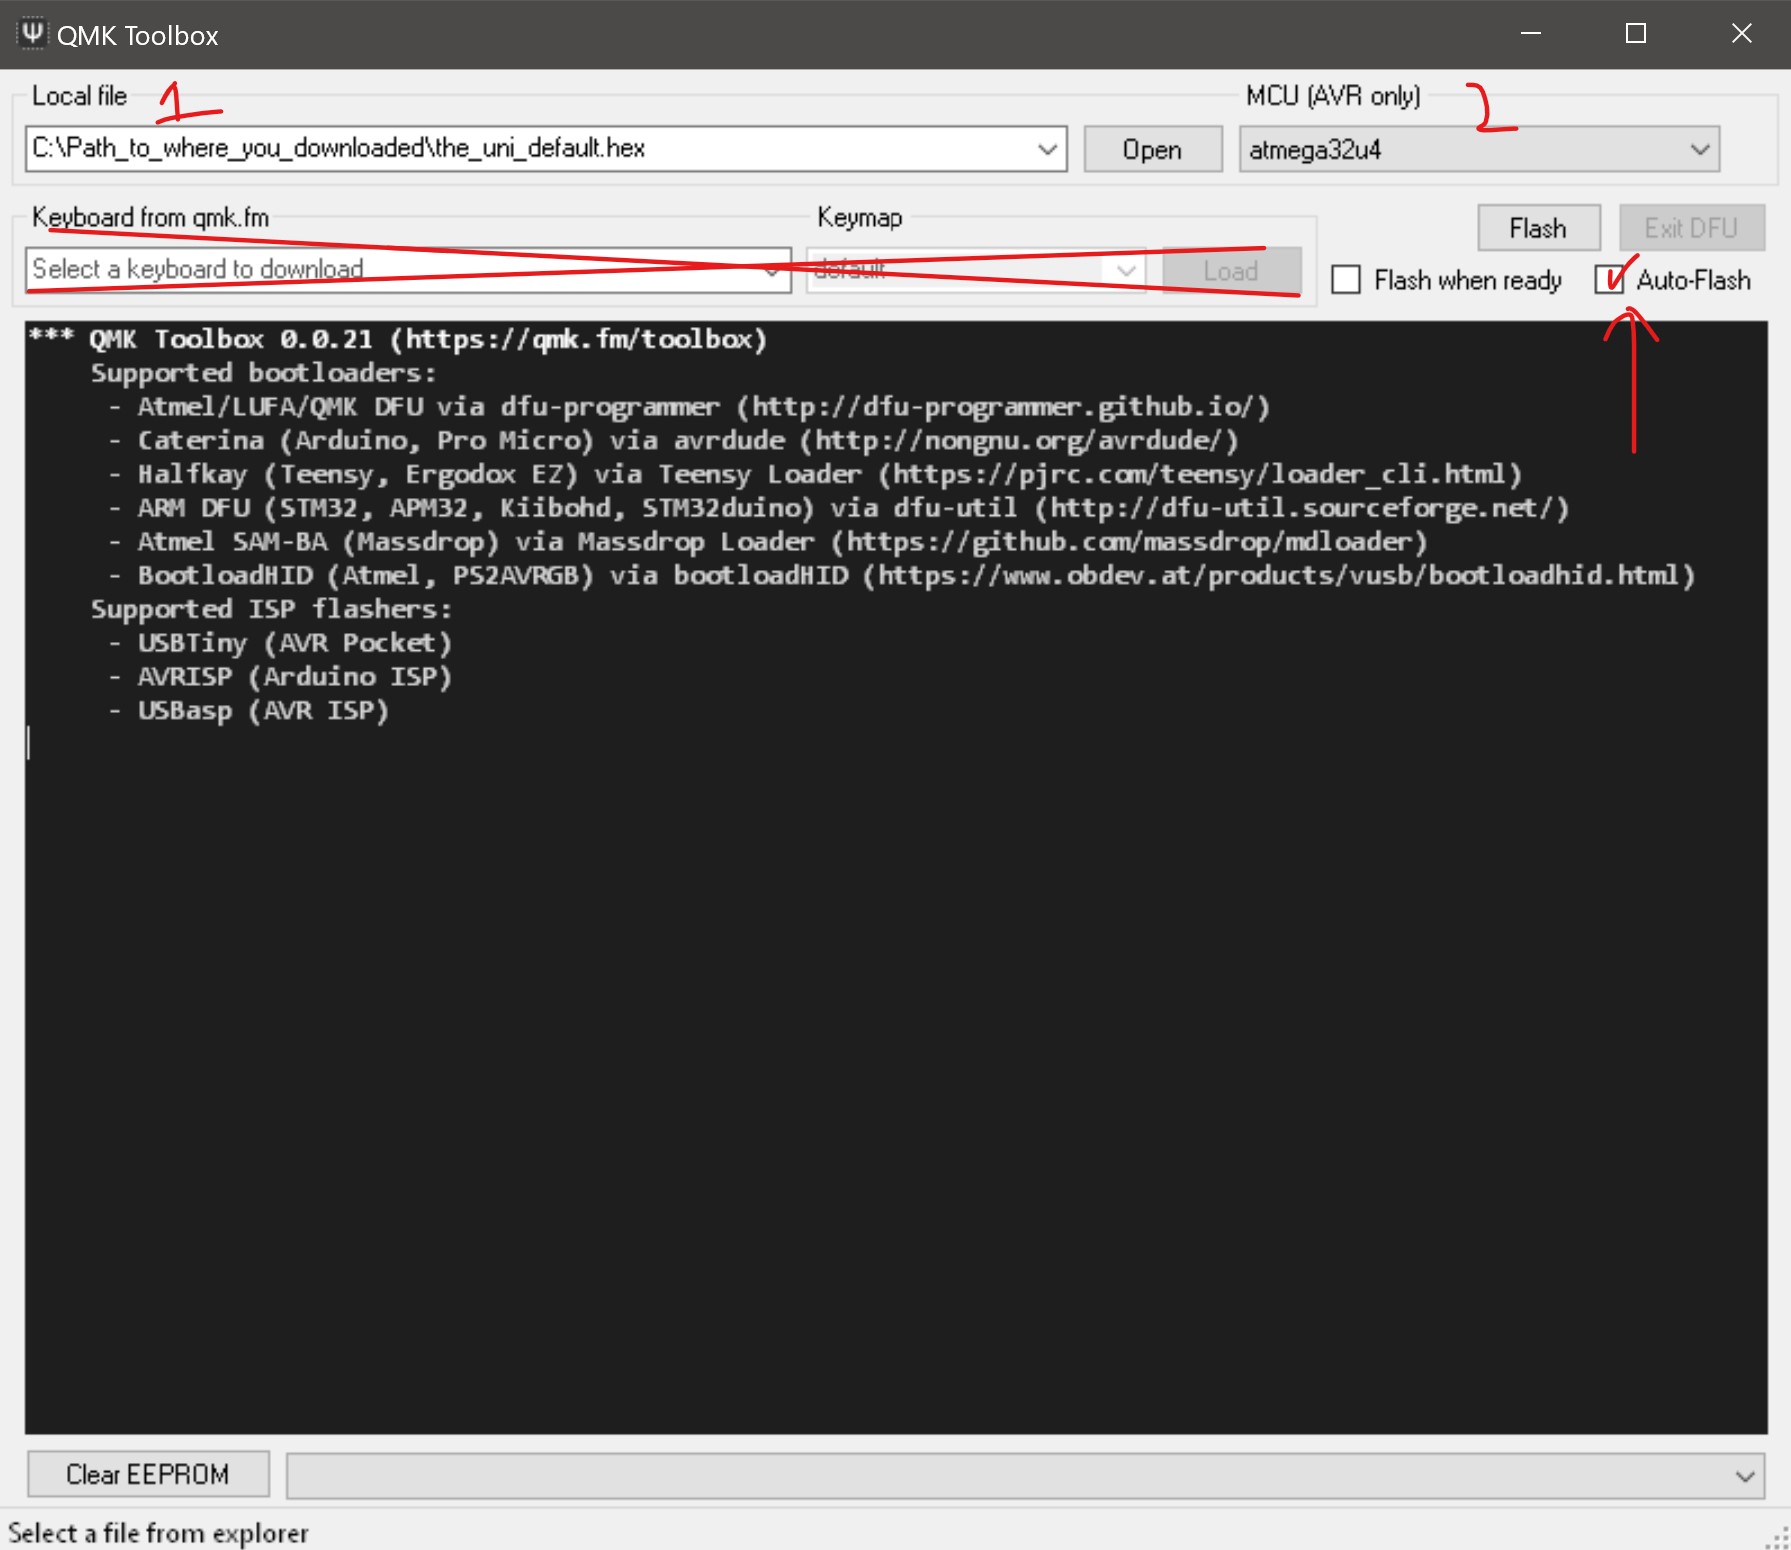
Step 6: Flash it with QMK Toolbox
-
Download the firmware (the_uni_default.hex)
-
Download QMK Toolbox (qmk_toolbox.exe)
-
Open up QMK Toolbox
-
Select the_uni_default.hex file that you downloaded
-
Make sure it says ATMega32U4 at the top right
- Check Auto-Flash*
-
Next, plug in the keyboard to your computer.
- Use a conductive piece of metal to short the GND and RST pins to reset the pro micro.
- *If you are on a Mac, don't check "Auto-Flash". Instead, short the reset pads and quickly click "Flash".

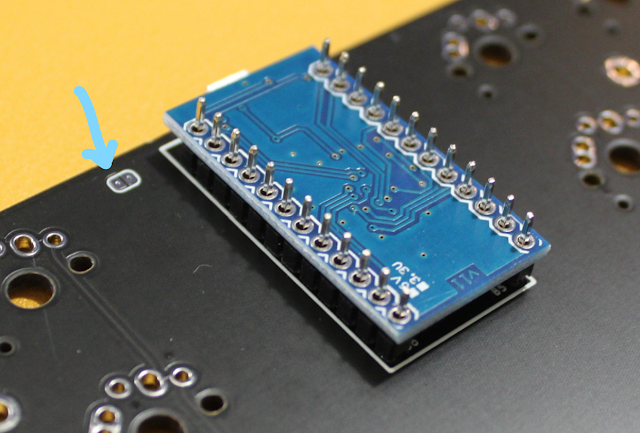 |
| short these pads and wait for qmk toolbox to do its thing |
Step 7: Hook it up with Plover (applies to those of you who bought the fully
assembled version as well)
-
Make sure that the Uni is plugged in to your computer.
-
Open Plover and go to "Configure"
-
Click "Machine" and under the drop down select "Gemini PR"
- Click "Scan"
-
Click on the drop down that says "Port" and select the "COM[insert_number]"
option that shows up.
-
Click "Apply" and then "OK"
-
Click the drop down on machine and select Gemini PR if it is not already
selected and then click the refresh icon.
-
Click "Enable" on the Output and you are good to go!
-
If it does not work, then go back to "Configure" and try selecting a
different "COM[insert_number]" Now you should be able to use the Uni for
steno and use your keyboard normally without having to toggle Plover on and
off.
Step 8: Take a Picture :)
Congratulations! Make sure to post it on social media. Join the
Plover Discord and add yourself the "The Uni Machine" role.
The cable in the picture is a magnetic data cable, which can help save the usb port from wear and tear.
Here is an affiliate link where you can buy the exact one that I use.
 |
| Share it with the plover people |


Comments
Post a Comment